Agent Functions: Explore The Ticket Interface
An individual ticket screen consists of FIVE areas:
- The Ticket Title and URL (located at the very top of the ticket)
- The original request (opening post) from your customer/client (positioned just below the ticket title and url)
- The list of replies (located below the original request)
- The Reply Area (located at the bottom of the ticket)
- The Ticket Details Area (“metaboxes”) located on the right hand side of the ticket – these can be reordered or even moved to the main area (which makes the boxes wider)
Below is an image showing each of these individual areas – each number corresponds to the area in the list above.
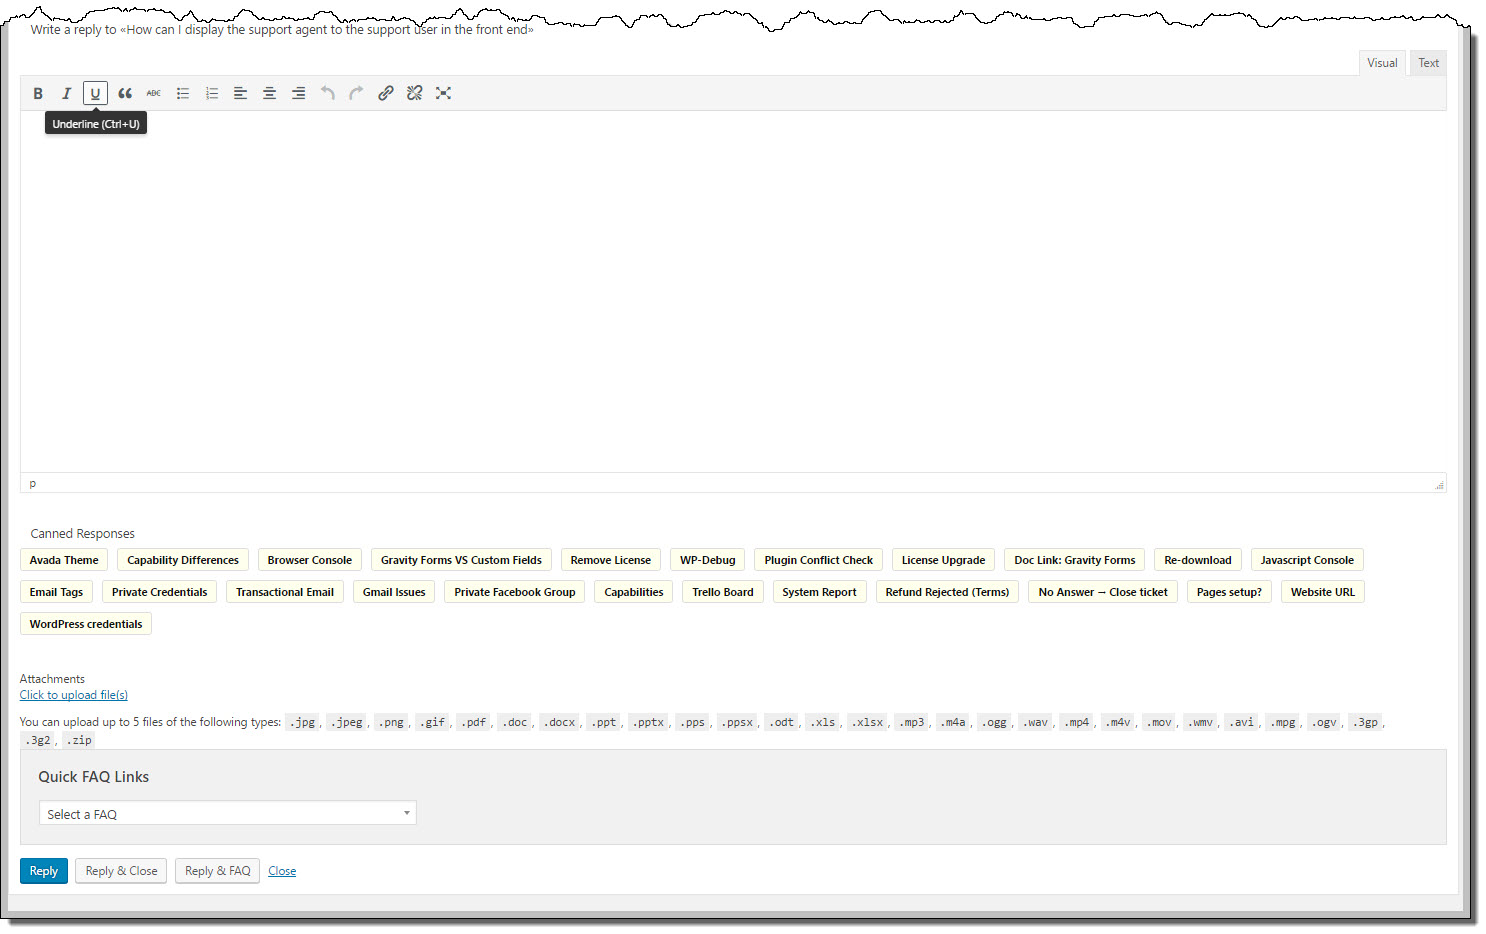
The Reply Area
As an agent this is quite possibly the area you will be using the most. It is located at the very bottom of the ticket. By default you can type a reply, attach files and send the reply by clicking the REPLY or REPLY & CLOSE buttons.
However, you can purchase add-ons that expand the functionality of this area. The Canned Response and FAQ add-ons for example, add more options to this area. Here is an example of what that area can look like with certain add-ons:
The Ticket Details Area
The Ticket Details area is located on the right side of the ticket. It contains a lot of information that can assist you with handling the ticket. Information is segmented into boxes so that related functions are grouped together. Generally you will most often find yourself using the Ticket Details and User Profile boxes.
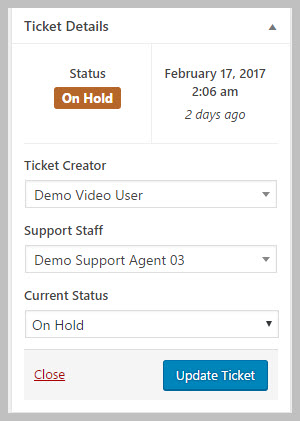
Ticket Details Metabox
The ticket details box shows you:
- Who opened the ticket (which client/customer)
- Which agent is assigned to the ticket
- The current status of the ticket (open, closed or other custom status)
And provides you options to:
- CLOSE the ticket
- Change the status of a ticket
- Save updates to the ticket.
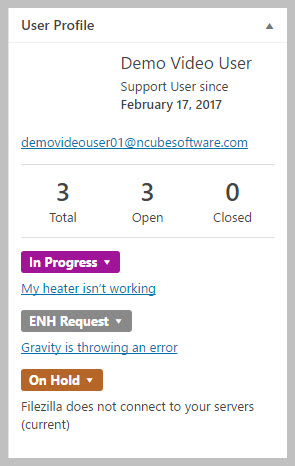
User Profile Metabox
The user profile box shows you:
- The name of the user
- The email address of the user
- How many tickets the user has opened and closed
- A list of all the other tickets the user has opened or closed
- The current status of the ticket
Additional Metaboxes
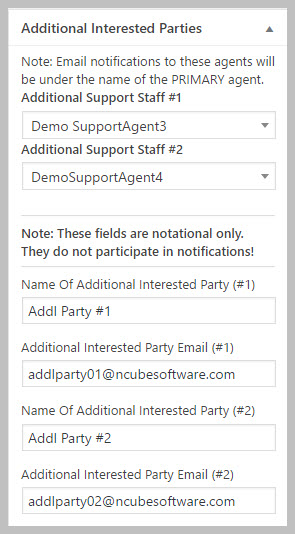
As of Version 3.6, there are additional metaboxes available:
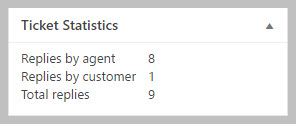
- Ticket Statistics
- Basic Time Tracking
- Additional Interested Parties
- Admin Only Custom Fields
Add-on Metaxboxes
Depending on which add-ons you have purchased, there might be additional metaboxes. Some examples are:
- Custom fields
- Premium Time tracking
- Automatic Close
- Satisfaction Survey
- Merge and Lock
- WooCommerce Information
- Easy Digital Downloads Information
- Envato Information
Managing The Metaboxes
As you probably suspect, the right side of the ticket screen can quickly become crowded. However, you can hide individual metaboxes or rearrange them by clicking-and-dragging them up/down to new locations.
To hide metaboxes, look in the upper right side of the screen for a link named Screen Options. Click on that and in the resulting screen drop-down you can check/uncheck individual metaboxes to show/not-show as you prefer.
See Also

